HowTo: Use Azure CLI to Create Azure Container Apps
📑 Table of Contents
🎯 Overview
This guide demonstrates how to use the Azure Command-Line Interface (Azure CLI) to create and deploy an Azure Container App. Azure Container Apps is a fully managed serverless container service that enables you to run microservices and containerized applications on a serverless platform.
By following this tutorial, you will learn how to:
- Authenticate with Azure using the CLI
- Set up the necessary Azure resources
- Create a Container App environment
- Deploy a containerized application
This approach is ideal for developers who prefer command-line tools and automation over using the Azure Portal.
📋 Prerequisites
Before starting, ensure you have:
- Azure CLI installed on your machine
- An active Azure subscription
- Your Azure tenant ID
- Basic understanding of container concepts
🚀 Step-by-Step Guide
Step 1: Authenticate with Azure
First, log in to your Azure account using device code authentication. This method is particularly useful when working in environments where interactive browser login isn’t available.
az login -t <your-tenant-id> --use-device-code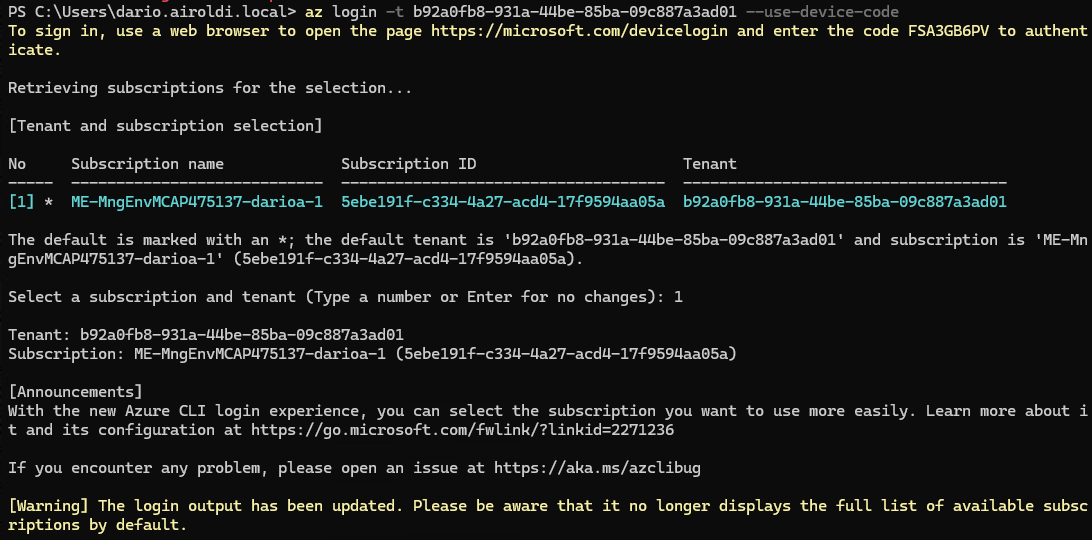
Step 2: Create a Resource Group
Create a resource group to organize and manage your Azure Container App resources. This example uses the Italy North region.
az group create --location italynorth --name diginsighttools-testmc-rg-01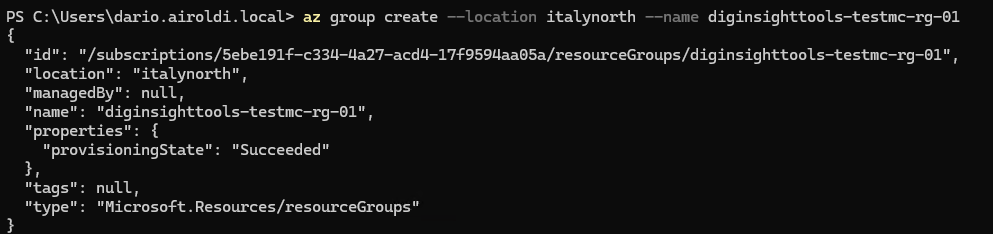
Step 3: Install Container App Extension
Add the Container App extension to Azure CLI. The --upgrade flag ensures you have the latest version.
az extension add --name containerapp --upgrade
Step 4: Create Container App Environment
Create a Container App environment, which provides a secure boundary around a group of container apps. These apps share the same virtual network and write logs to the same Log Analytics workspace.
az containerapp env create --name diginsighttools-testmc-cae-01 --resource-group diginsighttools-testmc-rg-01 --location italynorth
Step 5: Deploy the Container App
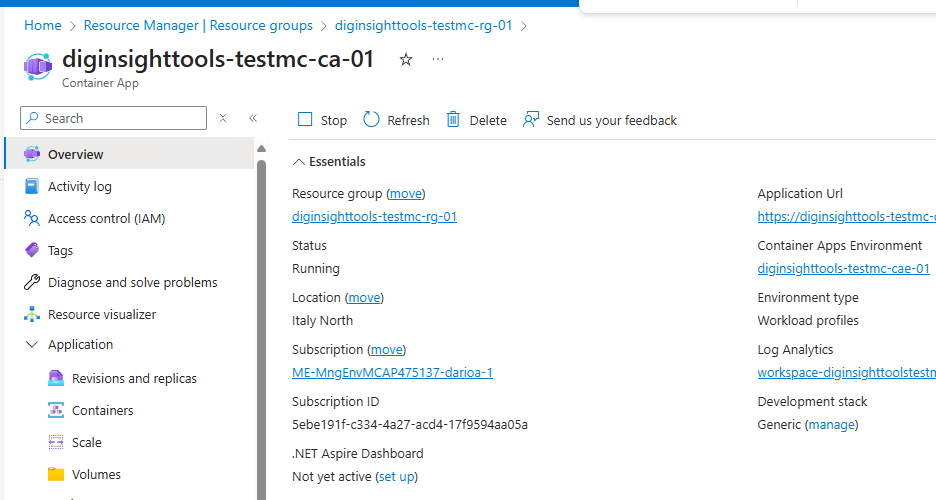
Finally, create and deploy your container app using a sample “Hello World” image from Microsoft. This command configures external ingress on port 80 and returns the fully qualified domain name (FQDN).
az containerapp create --name diginsighttools-testmc-ca-01 --resource-group diginsighttools-testmc-rg-01 --environment diginsighttools-testmc-cae-01 --image mcr.microsoft.com/azuredocs/containerapps-helloworld:latest --target-port 80 --ingress 'external' --query properties.configuration.ingress.fqdn
After successful deployment, you can access your application using the FQDN returned by the command.
🔗 References
Official Azure Documentation
Azure Container Apps Overview
Comprehensive introduction to Azure Container Apps, explaining the service architecture, key features, and use cases. Essential reading for understanding when and why to use Container Apps.Azure CLI Reference for Container Apps
Complete command-line reference documentation for allaz containerappcommands. Useful for exploring additional configuration options and advanced scenarios.Quickstart: Deploy your first container app
Official quickstart guide from Microsoft that provides context and alternative deployment methods, including Portal and ARM templates.
Additional Resources
Azure Container Apps Environments
Detailed explanation of Container App environments, networking, and security boundaries. Important for understanding the environment concept used in Step 4.Ingress in Azure Container Apps
In-depth guide on configuring ingress settings, including HTTP/HTTPS traffic, authentication, and custom domains. Relevant for production deployments beyond this basic tutorial.Azure CLI Installation Guide
Step-by-step instructions for installing Azure CLI on Windows, macOS, and Linux. Essential prerequisite for following this tutorial.